 Is it just me, or does your foundation sometimes breakup and drive you crazy? For a long time, this was a super-annoying issue for me – no matter how artfully I applied my makeup, it revolted. A couple hours after application, my T zone would look patchy. My foundation moved around or disappeared entirely from specific areas like my nose (both the bridge and the corners), around my mouth, and my chin. It felt like my skin was repelling it! My face can be a bit oily, and it’s also sensitive and reactive. I have permanent red spots from old acne scars and who knows what else. I tried product after product over the months and years, but I just couldn’t seem to find a solution to “the mysterious case of the disappearing foundation.” Trial and error is ultimately what helped me arrive at the following solution that works for me. Now I follow this routine faithfully for special occasions. It takes me longer than I want to invest on a day-to-day basis; about eight minutes to complete from beginning to end. So there are days I do a quicker version or don’t wear any makeup at all. Give my suggestions a try and let me know how they work! I’d love to hear from you. Step One: Light Moisturizer My skin is combination/oily, so moisturizing is a balancing act – something too creamy or greasy is definitely off the table, but I can’t avoid this step entirely or my skin will overcompensate and become even oilier. (This is a real thing: "By skipping the moisturizer, your skin will dry out and in turn rebound with more oil production, which can actually cause more breakouts,” dermatologist Dr. Eric Schweiger told Bustle). I need a lightweight, oil-free moisturizer that absorbs quickly into my skin. I always make sure to use a gel- or water-based product that’s formulated for oily or combination skin. And of course, remember to wash and dry your hands right before you apply your gel moisturizer. Try Clinique Dramatically Different Moisturizing Gel, $27 for 4.2 ounces at Sephora 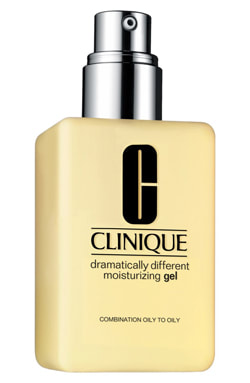 Step Two: Mattifying Primer I wait about 60 seconds for my moisturizer to dry before I apply a mattifying primer. I rub a small dollop of primer between my fingertips and then smooth it onto my face. Make Up For Ever’s option reduces shine and its slightly tacky consistency gives my foundation something to stick to (like a clingy ex-boyfriend, baby). If I skip this step, I notice a huge difference in the longevity of my foundation – plus, it just doesn’t feel right to me. Try Make Up For Ever Step 1 Skin Equalizer Mattifying Primer, $37 for 1 ounce at Sephora 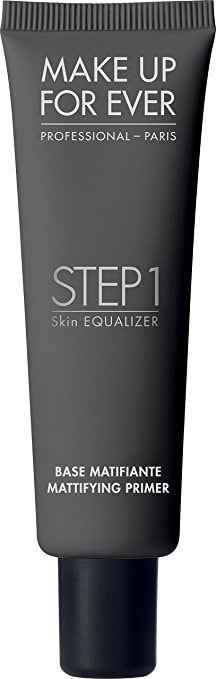 Step Three: Longwear Foundation I dispense three pumps of my favorite matte, oil-free liquid foundation to the back of my hand. I use a damp black BeautyBlender Pro ($20) to apply the product using a gentle up-and-down dabbing motion. I begin by applying foundation to the areas where it doesn’t seem to want to stay put – my nose, around my mouth, and my chin. Then I move onto my forehead and cheeks (the areas which don’t need much attention). Try Laura Mercier Flawless Fusion Ultra-Longwear Foundation, $48 for 1 ounce at Sephora 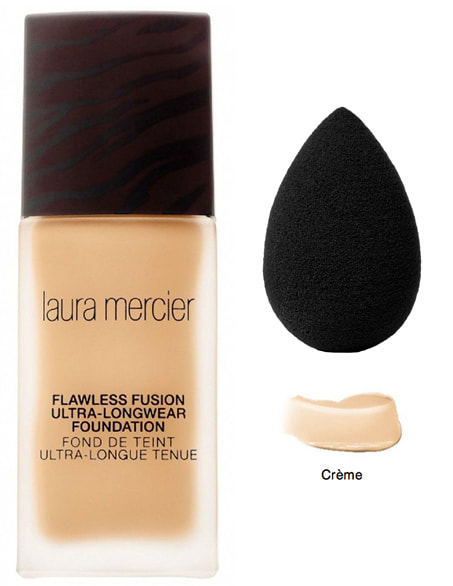 I can’t recommend Laura Mercier Flawless Fusion Foundation enough! I learned about it back when it launched in July 2017, thanks to a video from one of my favorite beauty YouTubers, Tati. It’s marketed as “weightless” and gives you medium-to-full coverage (depending on how much you apply). Laura Mercier Flawless Fusion Ultra-Longwear Foundation comes in 20 shades, with varieties for cool, neutral, and warm undertones. My shade is 1N1 Crème, as I’m pretty pale. Here’s more about this foundation, courtesy of Sephora.com: “Skin Fusion Technology seal[s] it into place for 15 hours of high performance, comfortable wear that’s transfer-, sweat-, humidity-, and water-resistant. The matte finish is never dull, flat, or cakey, and it minimizes imperfections while silky fine powders help control oil immediately and throughout the day. It’s ideal for all skin types, especially normal to oily.” Step Four: Conceal Acne and Redness To cover blemishes and redness, I use an oil-free cream concealer. I find it covers everything – and I mean everything – with a minimal amount of product. I use a Sephora Pro Stippling Concealer Brush #52 ($24) to pick up a tiny bit from the concealer pot, then pat the product onto my skin for spot coverage only where it’s needed. Try Nars Soft Matte Complete Concealer, $30 for 0.21 ounce at Sephora 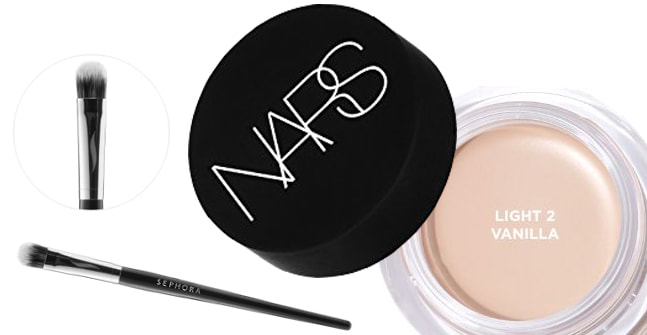 My color in Nars Soft Matte Complete Concealer is Vanilla (“a tiny cast of pink for the fair complexion”); there are 16 shades to choose from. The Sephora website bills it as a high-tech product: “The Soft-Focus Smoothing Complex contains Optimal Diffusion Powder that transforms the look of skin by blurring imperfections with light-diffusing spheres.” Hey, it works for me! One tip: Although Nars and Sephora say you can use the Soft Matte Complete Concealer for under your eyes, I don’t recommend it. I prefer a liquid concealer for my undereyes, where I occasionally have bags and/or a blue tint. My favorite under eye product is Tarte Shape Tape Concealer in Light ($27 at Ulta), and I always apply it with my BeautyBlender. There are 14 colors of Tarte Shape Tape Concealer. 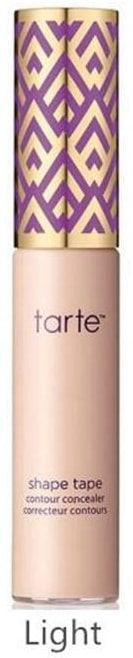 Step Five: Set with Powder I’ve found that with powder, less is more. I only set the areas of my face that really need it – my T zone and my undereyes – and I apply a miniscule amount. I use a pressed banana powder and a tiny Real Techniques Setting Brush ($7.99) from Ulta. I barely touch the brush to my skin in one single “dab” motion on any spot that needs coverage. Sudden movements seem to spook the products. I don’t sweep the brush, I don’t make a circle – nothing. The NYX Banana Powder is far and away my favorite powder product, and I especially love it because it’s so affordable (the prices of my other recommendations are unfortunately a bit ouch-worthy). I use the same powder and brush for setting both my undereyes and any blemishes or scars that needed concealing. Try NYX HD Finishing Powder in Banana, $9.99 for 0.28 ounces at Ulta 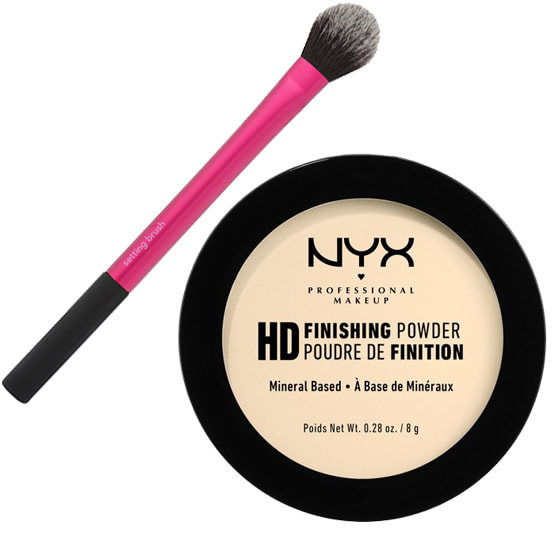 Step Six: Give it a Spritz To seal my face makeup, I’m a believer in setting sprays (although some are definitely better than others). It genuinely seems to keep my makeup on my face longer. My #1 recommendation is a product I don’t hear about too often: Dermablend Set + Refresh. I really believe it’s the best spray on the market, even compared to more popular Urban Decay ones. I move the bottle in a slow, tiny circle while I spritz the nozzle about three times. Then I oh-so-sophisticatedly wave my hand in front of my face to help it dry (who knows if this really does anything, but I find value in it). Try Dermablend Set + Refresh, $24 for 3.4 ounces from Ulta 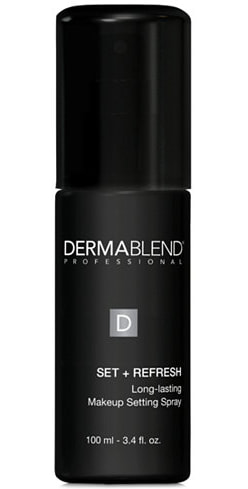 And that’s everything! This really, really works for me, and I hope it’s your golden ticket too. Remember, this is one type of breakup you can will away – makeup breakup.
P.S. If you need a midday touch-up, gently press a single Clean & Clear Oil Absorbing Sheet over your face. Don’t move the sheet around or rub it in a circle – simply press it down and then lift it straight up off your skin. These blotting papers are widely available for about $4.99 at drugstores.
0 Comments
Leave a Reply. |
AuthorI'm Michelle, a lifelong Bostonian with a passion for makeup and all things beauty. ArchivesCategories |
 RSS Feed